Underwater colour correction that follows the water.
Depth, subject distance and water type, handled before the look goes on. Runs in your browser and exports a real .cube LUT.
Drop a clip, describe the look, export a real .cube LUT. Your footage never uploads.
Underwater colour correction rebuilds the colour that water absorbed at depth. LUTly estimates depth, subject distance and water type from your frames, inverts that loss, then applies the look you describe. It runs in the browser, your footage is never uploaded, and you export a .cube LUT for Resolve, Premiere, Final Cut Pro or CapCut.
A blue cast is missing information, not a style choice. If you grade before you rebuild it, contrast and saturation amplify the cast and the shot goes plastic. LUTly runs the correction pass first so the look lands on a neutral image.
Three controls, because three things change the result. Depth sets how much of the warm end was lost. Subject distance sets how much haze sits between lens and reef. Water type sets which part of the spectrum went first. All three are estimated from the frame and all three can be overridden.
Not all water takes the same colour.
Tropical blue and temperate green absorb differently, and a video light changes the picture again. Picking the right starting point is most of the job.
| Water | Where you see it | The problem | What LUTly does |
|---|---|---|---|
| Tropical blue | Reef and open blue water, high clarity | Everything reads blue, subjects go grey with distance | Red rebuilt hard, blue held so the water still looks like water |
| Temperate green | Kelp, quarries, cooler coastal sites | Heavy green cast, muddy shadows | Green pulled back against a measured neutral, red and orange lifted |
| Murky or silty | Wrecks, estuaries, low visibility | Low contrast haze between lens and subject | Backscatter-aware contrast, distance haze reduced before the look |
| Lit close subject | Macro and close reef with a video light | Warm subject against a blue background | Less recovery on the lit area, background kept blue |
How the correction is built.
Exposure, black level and the balance between channels are measured across sampled frames, and the camera profile is read from the file so flat and log clips decode properly first.
Water absorbs each wavelength at a known rate per metre. LUTly inverts that curve for the estimated depth, distance and water type, rebuilding what was lost rather than pushing a tint the other way.
Your sentence is applied to the corrected image. Blacks are protected so shadows do not crush, and the water is allowed to stay blue instead of being neutralised into grey.
What to do on the dive.
Shoot flat or log if the camera offers it, lock white balance rather than leaving it on auto, get closer than feels necessary, and shoot slightly upward where you can. Every metre of water between you and the subject is colour and contrast you will be rebuilding later. Shooting a GoPro in a housing? Start with green GoPro footage.
Cameras and profiles.
| Camera or brand | Profile detected | What LUTly does |
|---|---|---|
| Any other camera | STANDARD REC.709, HLG HDR | Treats the clip as standard Rec.709, or as HLG if you pick it. Use this when the camera is not in the list. |
| Apple iPhone | STANDARD (HDR OFF), HDR (DOLBY VISION / HLG), APPLE LOG | Reads the file for an Apple Log or HDR tag, decodes it back to a normal range, then grades on top. |
| Sony | STANDARD, S-LOG3 / S-GAMUT3.CINE, HLG | Decodes S-Log3 with the S-Gamut3.Cine primaries before the look goes on, so blacks hold and skin stays put. |
| Canon | STANDARD, C-LOG3 | Decodes C-Log3, then grades. C-Log3 is the only Canon log profile offered today. |
| Panasonic | STANDARD, V-LOG, HLG | Decodes V-Log or HLG, then grades on the flattened image. |
| GoPro | STANDARD, PROTUNE FLAT, GP-LOG | Decodes Protune Flat or GP-Log, then grades. Also used for GoPro clips shot in a dive housing. |
| DJI | STANDARD, HLG, D-LOG M, D-LOG | Decodes D-Log, D-Log M or HLG depending on the drone, then grades. |
| Blackmagic Design | VIDEO (REC.709), FILM GEN5 | Decodes Blackmagic Film Gen 5, then grades. Gen 5 is the only Blackmagic film profile offered today. |
What you export.
| Format | Sizes available | Editors that read it | Tier |
|---|---|---|---|
| .cube | 33 points | DaVinci Resolve, Premiere Pro, Final Cut Pro, CapCut | Free account |
| .cube | 17 and 65 points | DaVinci Resolve, Premiere Pro, Final Cut Pro, CapCut | Creator, $5 a week |
| Graded frame PNG | Frame size of your clip | Any image app, useful for stills and thumbnails | Creator, $5 a week |
| .3dl | 17 points, fixed | DaVinci Resolve and older finishing systems | Pro, $10 a week |
| HALD PNG | Level 8, a 512 by 512 image | Apps that read HALD identity images | Pro, $10 a week |
| ZIP of .cube files | One file per clip in the batch | Same editors as a single .cube | Pro, $10 a week |
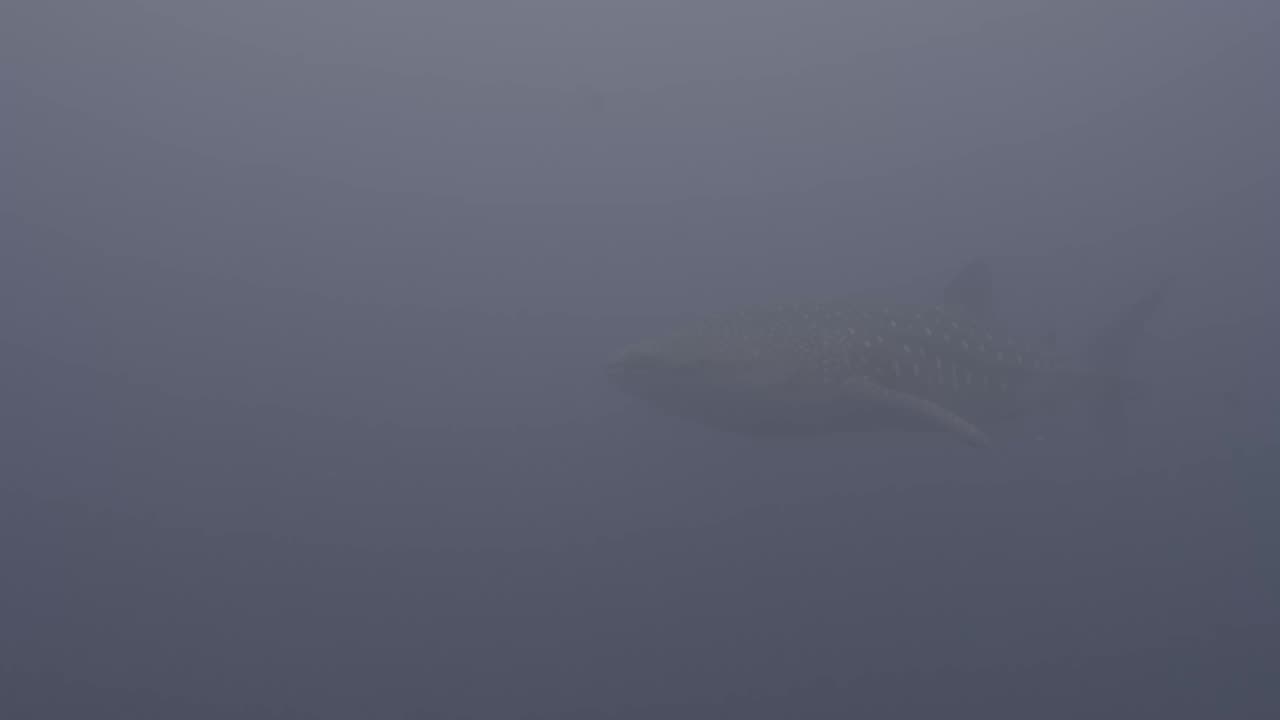
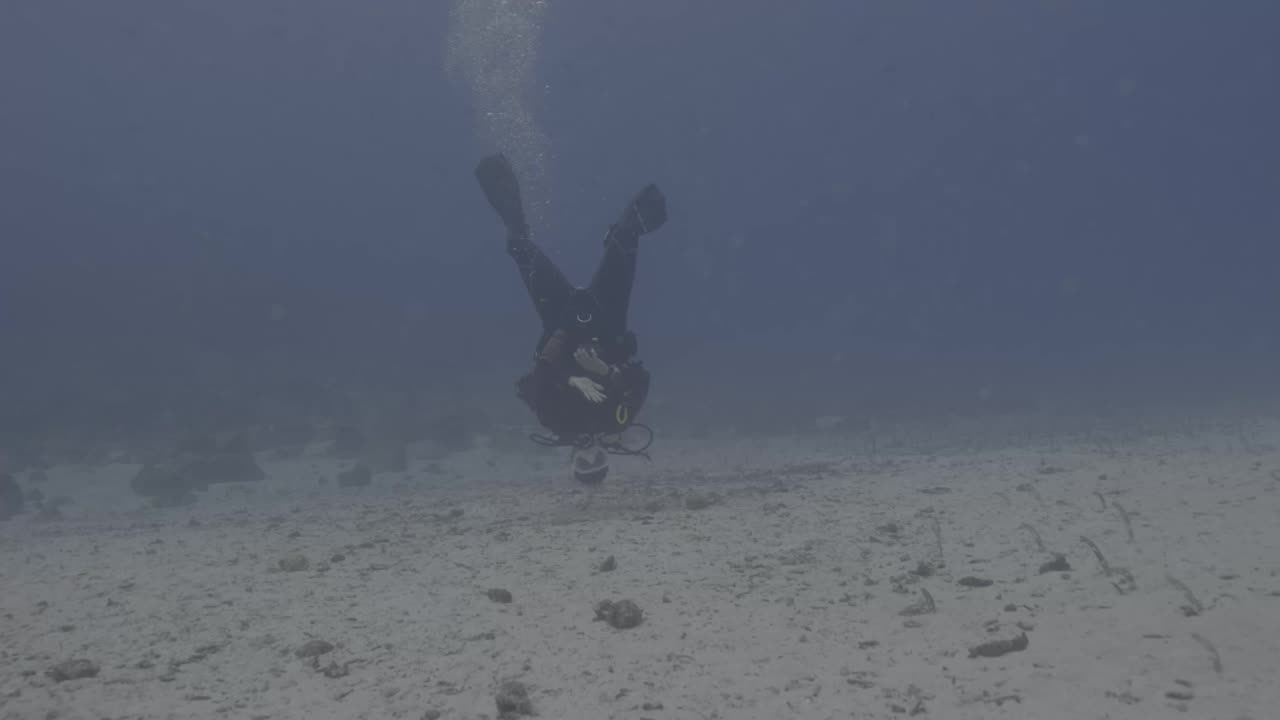
Drag the slider. Corrected on the right.
Left is the source frame off the card. Right is depth correction plus a one sentence look, applied live.
Frequently asked.
What is underwater color correction?
It is putting back the colour the water removed before you grade. Water absorbs red first, then orange and yellow, so the deeper you shoot the less colour the sensor records. Correction rebuilds that loss for the depth you were at, then the creative look goes on top.
Why does my dive footage look blue or washed out?
Two things at once. Depth removes the warm end of the spectrum, and the water between your lens and the subject adds haze that flattens contrast. Fixing only one of them leaves the clip looking either grey or falsely orange.
Can I fix it with white balance alone?
Rarely. White balance moves the whole image on two axes, so pushing out the blue drags sand, skin and the water itself with it. Depth loss is not linear across the frame, which is why a physics based recovery holds up better than a global slider.
How does LUTly know how deep I was?
It estimates depth, subject distance and water type from the colour statistics in your frames. If you logged the dive you can set the depth yourself and the correction follows your number.
Does it work on green water as well as blue?
Yes. Water type is a separate control, because green temperate water absorbs a different part of the spectrum from tropical blue. Picking the right one keeps the correction from over-warming the shot.
Which cameras work?
Any camera you can put in a housing. GoPro, DJI, Sony, Canon, Panasonic, Apple and Insta360 files are detected along with their flat and log profiles, and you can override the detection.
Do I need a red filter?
It helps in blue water below about 5 m and hurts in green water or on shallow shots. Filtered and unfiltered clips both correct, the filtered ones just start with more signal to work with.
Is my footage uploaded anywhere?
No. Decoding and rendering happen on your device. A few small preview stills go to the AI so it can judge the look. The clip itself never leaves your machine.
Can I correct a whole dive at once?
Yes. Drop the card in, LUTly groups clips shot in similar conditions so they get one consistent look, then exports the LUTs together as a ZIP on the Pro plan.
Is it free?
You can correct a clip as a guest with no account. A free account adds full quality 33 point .cube export and 15 LUT generations a month.
What do I do with the .cube file?
Load it in your editor and apply it to the clip, then reuse it across the rest of the dive. There are step by step guides for DaVinci Resolve, Premiere Pro, Final Cut Pro and CapCut.
Try LUTly on your own footage.
Drop a clip, describe the look, export a real .cube LUT. Your footage never uploads.