How to make your video look cinematic.
A short honest guide from someone who grades their own footage, plus a browser tool that builds the look on your own clip.
Drop a clip, describe the look, export a real .cube LUT. Your footage never uploads.
Cinematic colour comes from five controllable things: a proper contrast curve, restrained colour separation, consistent white balance, motion that matches shutter angle, and grade consistency across shots. The fastest route to the first three is a custom LUT built on your own footage, which is what LUTly does from one sentence. Processed on your device. Never uploaded.
Film contrast has a toe in the shadows and a shoulder in the highlights. Deep parts of the image roll gently into black, bright parts roll gently into white, and nothing feels clipped. Phone and drone footage tends to shoot a straight line: fine detail, but no shape. A cinematic curve gives the image its bones back. A LUT is the fastest place to put that curve.
Teal-and-orange works because most skin tones sit in the orange half of the wheel and most sky and shadow sits in the teal half, so faces get separated from the background for free. That separation is the trick. Restraint reads as expensive. Pick one accent colour and let everything else stay quiet. A pack that dumps six competing hues onto every clip is the opposite of cinematic.
The thing that silently breaks cinematic.
If shot one is warm and shot two is cool and shot three is somewhere in between, no amount of teal-and-orange will save the sequence. Cinematic footage feels cinematic partly because every shot in a scene agrees about what colour white is. Lock white balance in camera when you can. When you cannot, match every clip to a reference frame in post before you grade. LUTly's batch grade is built for this: match one frame, apply to the rest.
A LUT built on your clip beats a pack every time.
Downloaded packs were built on someone else's footage, on someone else's camera, in someone else's light. On your clip the white balance, exposure and skin tones are different, so the same LUT lands differently, usually worse, and there is no dial to fix it. A LUT built on your clip is calibrated to your sensor, your exposure, your scene. That is why LUTly builds the LUT on your footage instead of shipping preset packs. See how the same idea applies to S-Log, Apple Log, and underwater footage.
Watch one sentence do it.
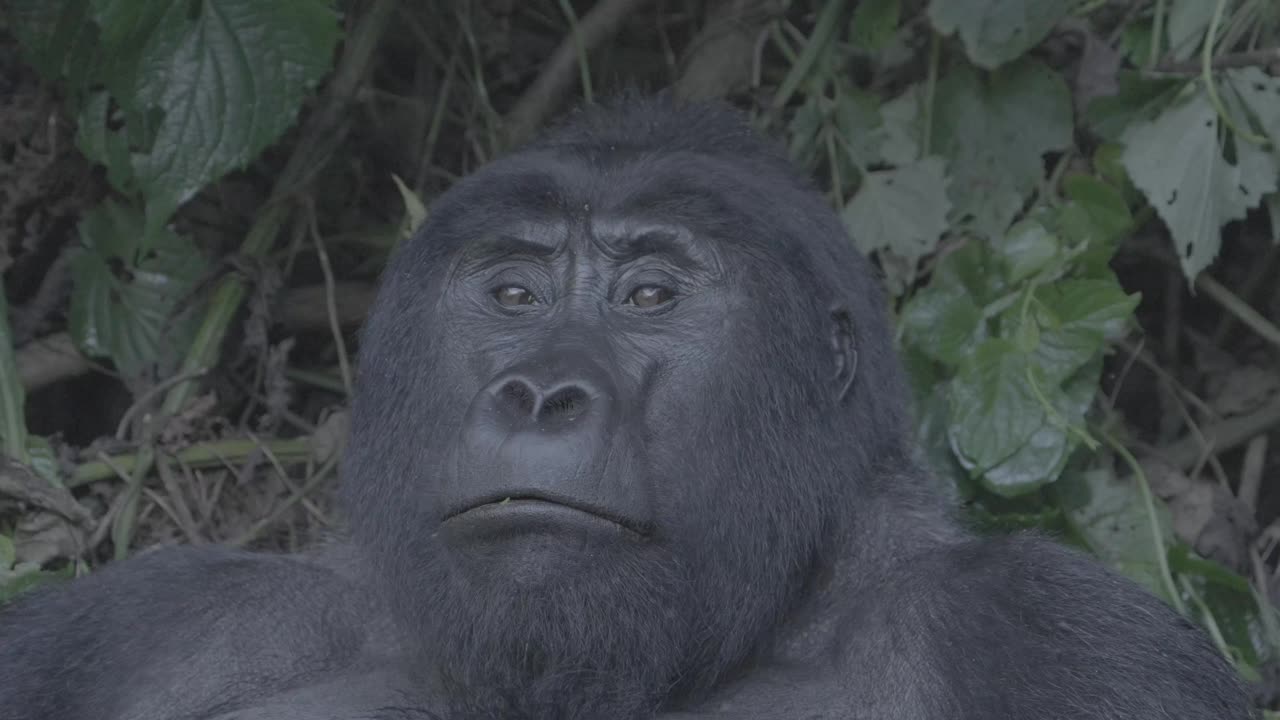
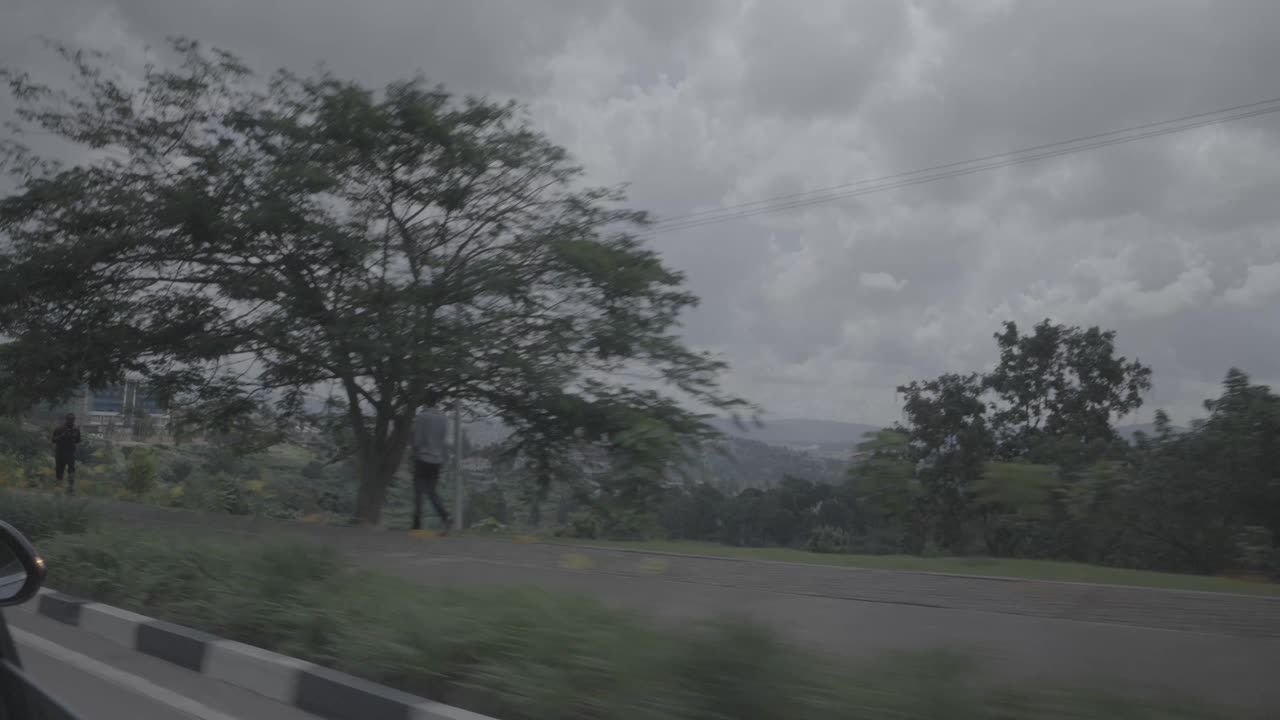
Drag the slider. Left is the real source frame straight out of the camera. Right is the same frame with a LUT built from one sentence, applied live.


Honest limits.
A LUT is a colour transform. It cannot bring back clipped highlights, it cannot rescue missed focus, it cannot correct wrong shutter speed, and it cannot stabilise shaky footage. If your motion looks like a phone screen recording, no grade will make it look like film. Fix the exposure and the shutter angle in camera first, then colour finishes the job.
One look across the whole edit.
A cinematic sequence is a set of shots that agree with each other. Pick a hero frame, describe the look once, then apply it across every clip in one hit. That is what batch grade is for. Compare workflows on DaVinci Resolve, CapCut, Dehancer and Colourlab Ai.
Frequently asked.
What makes video footage look cinematic?
Mostly colour and motion. A film-like contrast curve, controlled colour palette, consistent white balance and appropriate motion blur account for most of the effect. Resolution matters far less than people think.
Can AI make my video look cinematic?
AI can build the colour grade. LUTly turns a plain-English description into a real .cube LUT applied live to your footage. Motion and exposure still have to be right in camera.
Do I need expensive software?
No. LUTly runs in the browser and exports a standard .cube file that works in free editors including DaVinci Resolve and CapCut.
Try LUTly on your own footage.
Drop a clip, describe the look, export a real .cube LUT. Your footage never uploads.